Pages

Saturday, June 30, 2012

Day Two! (Character FX Bootcamp)


A little late but oh well.. We had lunch at a chinese restaurant.. nothing earth-shattering.

Thursday, June 28, 2012

Character FX VFX Bootcamp!

Day One of the VFX Bootcamp!


So we covered basic rigging in Houdini, and we had someone over from Method Studios show us some muscle systems.


Andddd it's July already?! Here comes the rent but we haven't seem to have gotten our allowance yet :(

Wednesday, June 27, 2012

Cable Maker

So what I wanted to do here is, given a curve with 3 points, create a spiral along it. I tried a few methods at first, including trying to use a foreach node to iterate through each circle copied along the curve and rotate them based on a stamp value given by the foreach node. However, that didn't work. :( So I consulted Ari and some of the interns and they suggested using the wiredeform node. I wasn't really keen on this initially as it would mean starting with a line, and adjusting the position of the midpoint of the line was a bit of a hassle (not that little considering the amount of cables I would have on my final model. I adopted this approach but tried to find a workaround to allow me to use a curve to control the shape instead. And it worked! Also thanks to Chris for help with the wirecapture node!

This is done by using the copy and foreach nodes on the left. the copy determines the number of spirals, with an expression to automate the rotation so the spirals would be equally spaced. The foreach node takes these circles, and iterate through each circle, with another copy and skin nodes inside creating a spiral for each circle. More EXPRESSIONS inside on the copy!
This is the fun part! Because I would simply not settle for manipulating a line, I created an expression that takes the distance between the first and last point on my curve, and creates an equidistant line. The npoints expression gives the line the same number of points as the curve. This is necessary in order for the wiredeform to accept the curve as a deformed wire.


And after wire capturing and deforming! Initially the spirals were flattened once they reached the bend, however, I fixed it by adjusting the capture radius in the wirecapture node. Thanks again to Chris!

Now for more bulletproofing!

Day 12.. Some work at last!

Some production work at last! Got started on my cable tool.

 Shrimp Scampi

Monday, June 25, 2012

Lighting References

Arm Concepts

Concepts of the robotic arm:


You can really see how they've evolved as I started thinking about the ways in which the arm would move, and keeping the design as simple as possible, while trying to keep a sinewy look.

Story

Initially, the idea was to have a character augmented with a robotic arm wake up inside his capsule and walk out, with the camera tracking backwards as the arm powers up. The camera would then reveal a whole army doing the same.

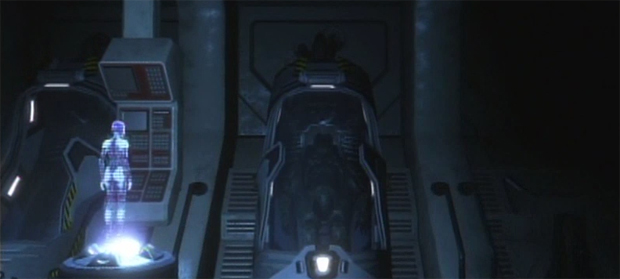
After some input from the nice people at Side Effects, I decided to have a wide shot of the army waking up first, with a closed capsule in the foreground. We would then cut into the shots of the now hero character waking up like before. Whereas before it would have been a more impersonal story, with the character revealed as only one of the whole army, now the character is implied to be special. My storyboards at this point.


However, after watching some wonderful tutorials on procedural animation, I decided to change the shots a little, with some big implications to the story. I would still keep the wide establishing shot, but replace the shots of the character with a detached robotic arm lying on the floor in front of an open (and empty) capsule. The arm would then start to power up and twitch.

At this point, there would be two possibilities for the story to continue: 1) The short would end, and it would seem the owner of the arm removed it and escaped, or 2) The arm flips itself up, standing on the palm, and looks at the camera. It then becomes clear that the "user" is actually a slave to the arm. However this would look slightly disturbing graphically and might not be approved.

Why did I chose to change my idea again? That's because I knew that procedural animation, and not character animation, would be what I'd rather be doing for 3 months. Granted, the 2nd possibility would need some character work, but it wouldn't be as demanding as animating a humanoid.

My storyboards at this point:


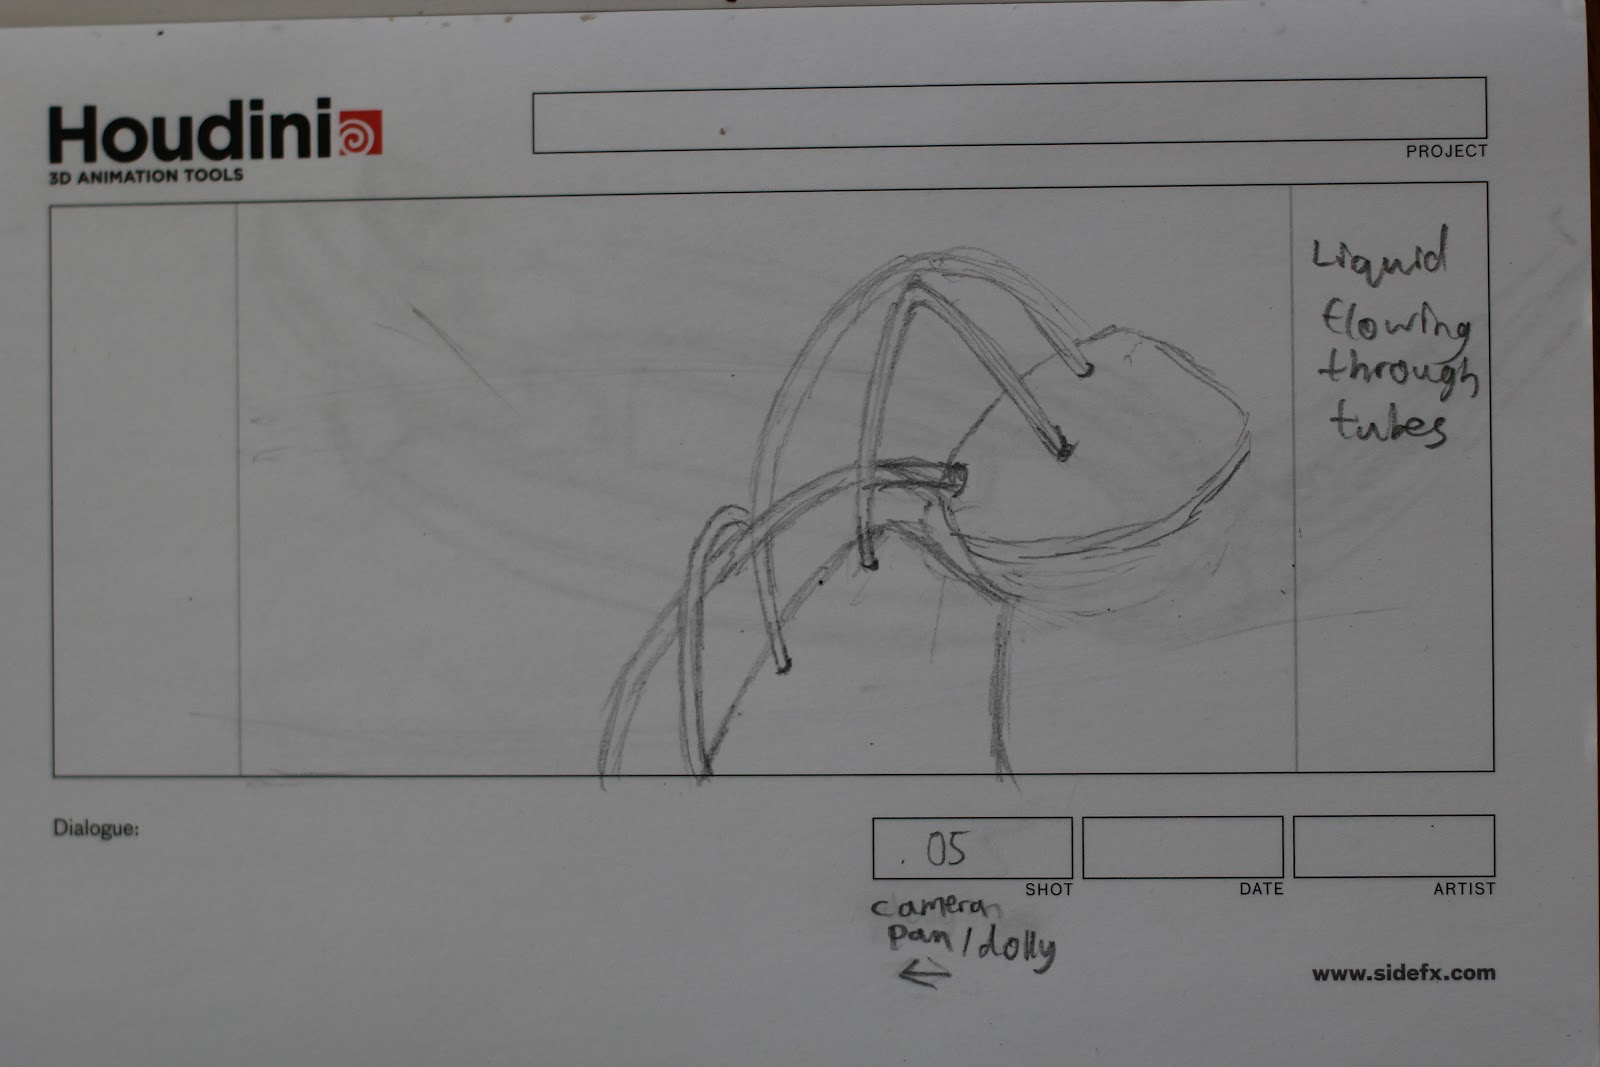
I might also include 2 extra shots, the  first one would be before the arm powers up, and the second one would be before the close up of the arm with liquid flowing through the tubes.

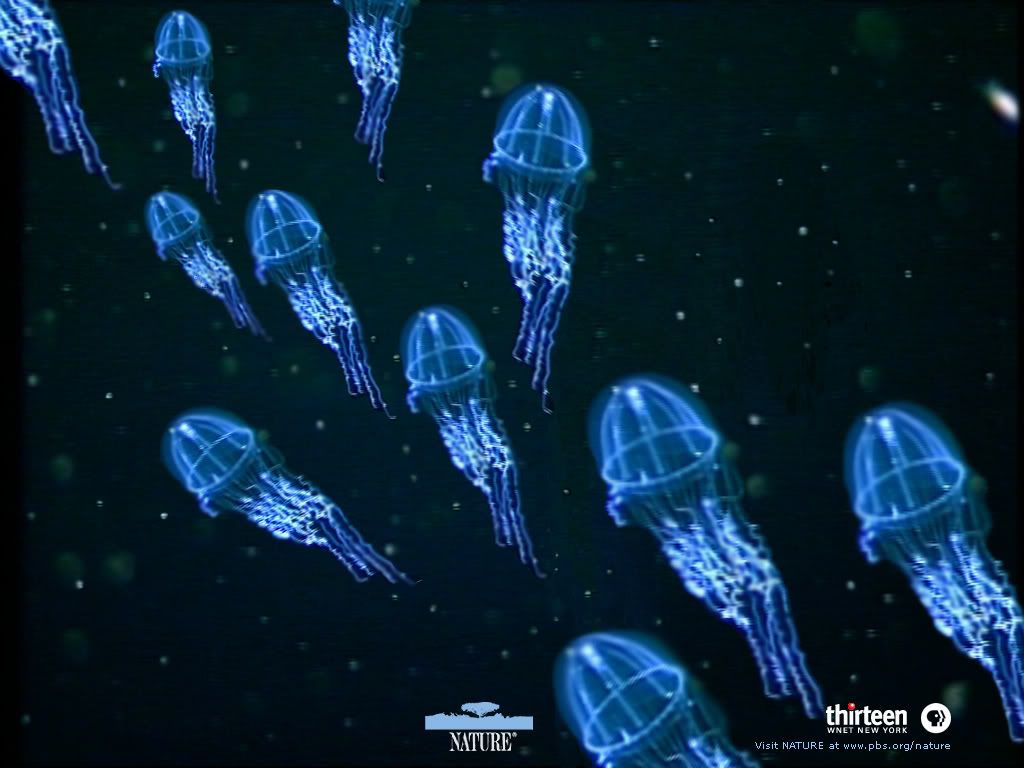
In this shot, these creatures would either light up, one by one, or there would be some form of electricity that would start flowing between them.
 In this shot, the creatures would start flowing/rushing in from the side, and reveal that the arm is actually powered by these little creatures.


We also had a lighting challenge in Houdini today (King's Treasure from 3d Render)! However it was a speed run and I'm too ashamed to post it here.